

How to? Running your first automation
How to run your first automation?
The very first and the easiest way is to create automation by copying it from Botprise Catalog!
What is a Botprise Catalog?
The Catalog page is a library of Botprise Smart bots. On the Catalog page all Smart Bots are divided by their types:
- Automation for SecOps
- Automation for NetOps
- Automation for DevOps
- Automations for CloudOps
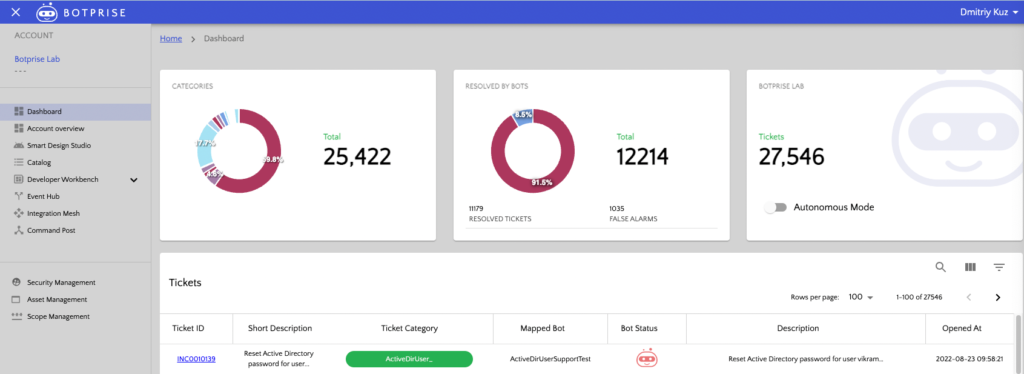
The Catalog is located on the left-sidebar
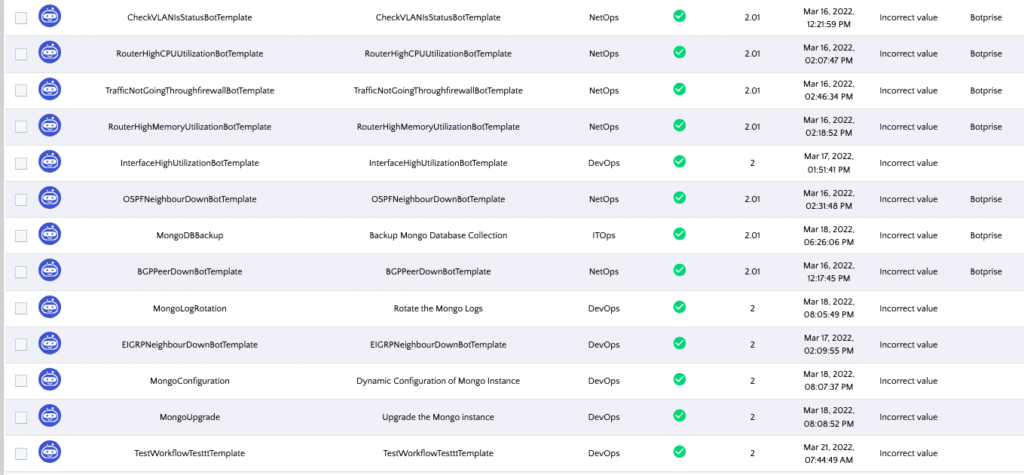
After opening the catalog you can see a list of Botprise SmartBots.
You can divide the SmartBots by type of Automation field like SecOps, CloudOps, or any other.
To know more about a particular SmartBot you choose it and press Actions and then ShowApp.
The Pop-up opens and can provide you the information about App Description, Integrations possible, Remarks or special instructions, and workflow of all the steps and actions the App is performing.
To Run the Automation you should pick the one you would like to use and press actions > Launch in Studio.
In this step you can add or change the workflow (to know more about it check our video or guide), it’s not necessary just an option for the tempted user.
On the top Bar, you can see the action button and you can save it.
After the saving, your automation will perform according to the steps and configuration you have made.
(Note: This guide does not include steps of connecting apps to your account, in case you would like to use automation with third-party applications you should connect them to the platform, Use This Guide in case you haven’t finished the connection dew first run session).